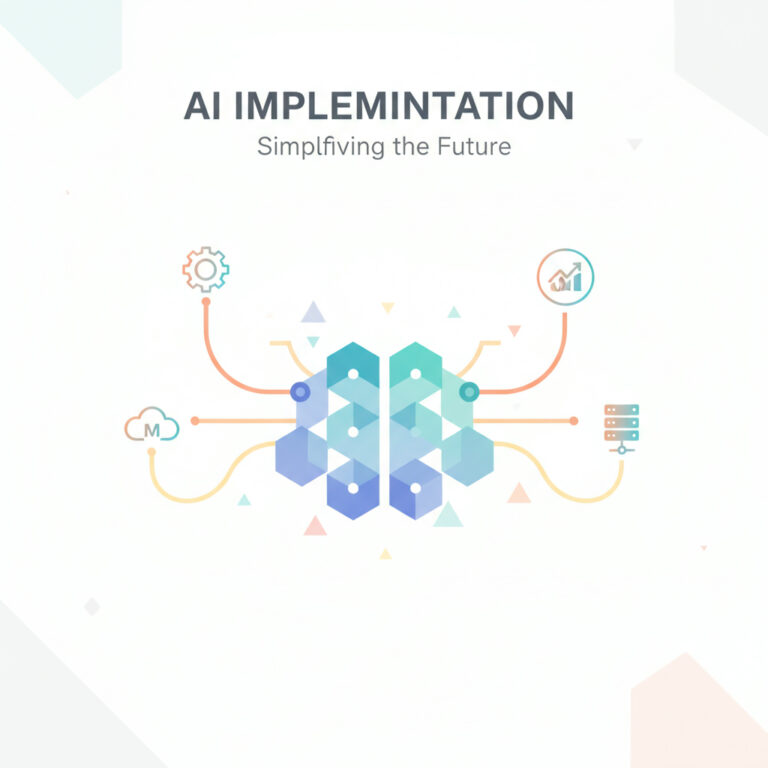
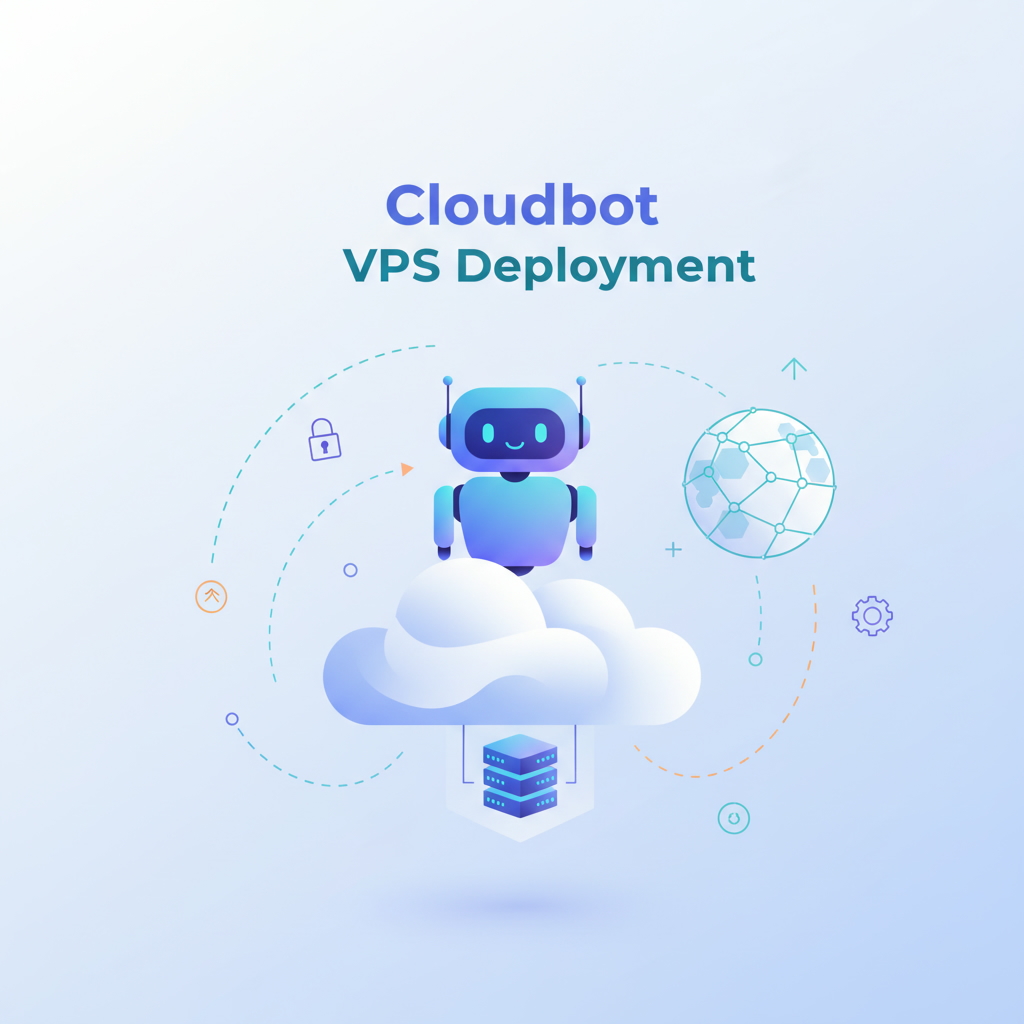
Implementing AI solutions like Cloudbot has become increasingly accessible, allowing users to harness the power of artificial intelligence without investing in expensive hardware. Many enthusiasts have turned to virtual private servers (VPS) to deploy Cloudbot efficiently. This article will guide you through the process of setting up Cloudbot on a VPS, specifically using Hostinger, ensuring a secure and effective AI implementation.
Why Choose a VPS for Implementing AI?
With the rising popularity of AI technologies, the need for secure and cost-effective deployment solutions has never been greater. Deploying AI systems directly on personal devices poses significant security risks, as these systems can access sensitive information. By utilizing a VPS, you can isolate your AI workflows while maintaining robust security. This method mirrors the approach many users take when opting for hardware like Mac minis, which serve as dedicated machines for running AI applications.
Step-by-Step Guide to Set Up Cloudbot on Hostinger VPS
Setting up Cloudbot on a VPS may seem daunting, but following a structured approach can simplify the process. Here’s how to implement AI effectively using Hostinger:
1. Select Your VPS Plan: Start by visiting Hostinger’s VPS section. Choose a plan that suits your needs; for instance, the KVM two plan offers 2 vCPU cores, 8GB of RAM, and ample bandwidth for AI services.
2. Choose Your Operating System: Opt for Ubuntu 24.04 LTS for optimal compatibility with Cloudbot. After selecting your OS, proceed to payment and set up a root password.
3. Access Your VPS: Use SSH (Secure Shell) to connect to your VPS. Enter the command provided by Hostinger, and log in with your root credentials.
4. Create a New User: For security, add a new user (e.g., ‘claud’) with administrative permissions. This practice helps in managing access effectively.
5. Install Cloudbot: Execute the command for a one-line installation of Cloudbot. This command will install necessary dependencies, including Node.js, which is vital for AI functionalities.

Configuring Cloudbot for AI Conversations
Once Cloudbot is installed, you’ll enter an onboarding flow. Here you can select your preferred AI model provider and set up integrations with messaging platforms like Telegram. This step enhances the functionality of your AI bot, enabling it to interact seamlessly with users.
– Create a Telegram Bot: Use the Bot Father in Telegram to create a new bot. This bot will facilitate interactions with Cloudbot.
– API Key Integration: Input your Telegram bot token into Cloudbot’s configuration to establish communication.
Security Considerations When Implementing AI
When implementing AI solutions, especially those that interact with sensitive data, security should be a top priority. Here are some best practices to enhance your AI deployment:
– Limit Access: Only grant necessary permissions to the AI system. Avoid using your primary email or sensitive accounts for AI interactions.
– Monitor Activity: Regularly check logs and activities on your VPS to ensure there are no unauthorized access attempts.
– Educate Yourself on Risks: Understanding the potential threats, such as prompt injection or unauthorized data access, can help mitigate risks associated with AI systems. Experts recommend maintaining a separate environment for testing AI functionalities to reduce exposure to threats.
Conclusion: Your Path to AI Implementation
Implementing AI like Cloudbot on a VPS is an effective way to explore the vast capabilities of artificial intelligence while maintaining security. By following the steps outlined above, you can harness the power of AI services without compromising on safety. For tailored assistance in implementing artificial intelligence within your organization, consider reaching out to an AI agency specializing in AI workflows and solutions.
Ready to dive deeper into AI? Contact us today for expert guidance.